Instructions on installing a rear sway bar on your Impreza; these were written using an Impreza WRX, but the steps carry through to most other models of Subarus. This is another modification that I cannot claim any credit for, besides monkeying the HTML, as it was done and photographed by fellow NASIOC member "suresh." It is thanks to him that I can put up these pictures and instructions into a modifications page for everyone to use. You will need 12mm and 14mm sockets or wrenches to complete this modification. If you have any questions, please feel free to email me.
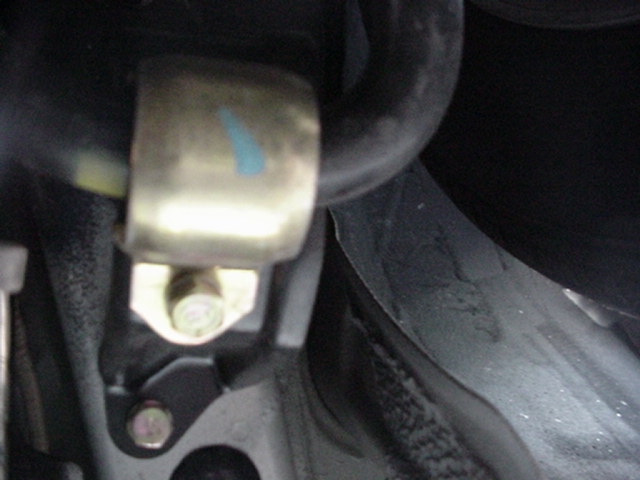
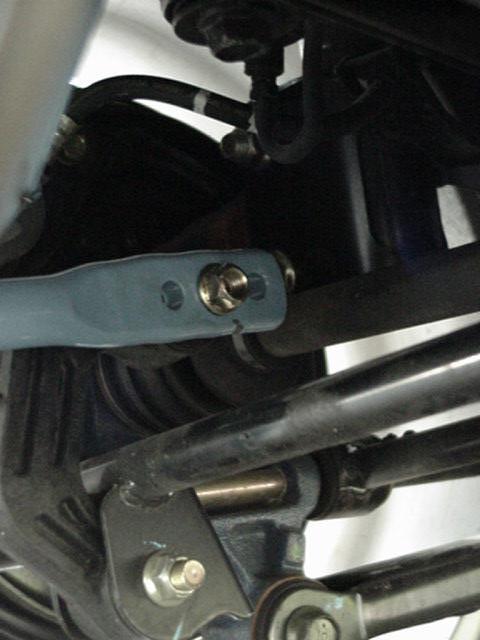
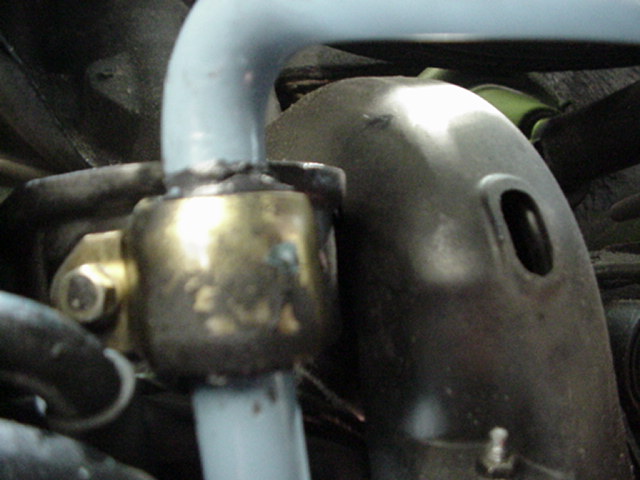
To start off, you want the car on the ground or have both rear wheels on ramps- the swap will be nearly impossible to accomplish if the suspension is not under "normal" load. The stock swaybar is held on by 2 U shaped clamps (which hold the swaybar bushings) and is then attached at each end to the swaybar endlinks. We will start by removing the driver's side U clamp, as seen in the picture. Simply remove the 12mm bolts holding each one in.
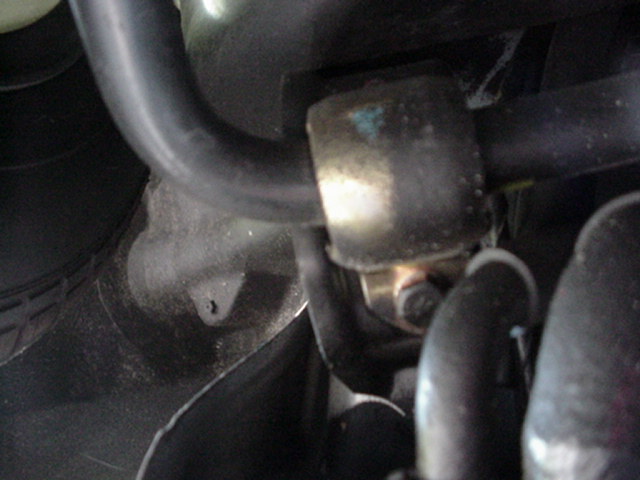
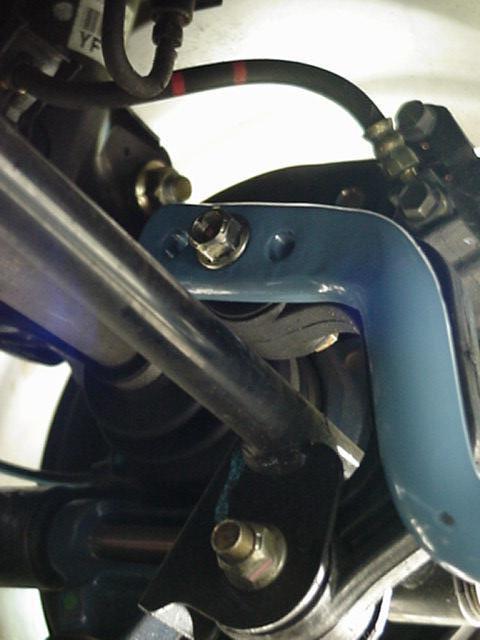
The passenger side bracket is removed in the same manner.

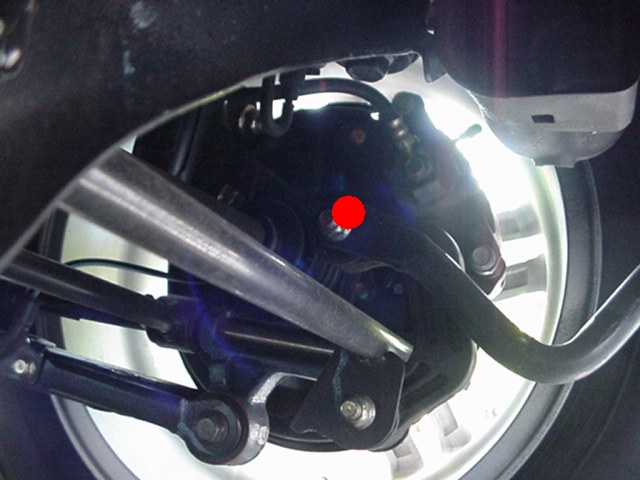
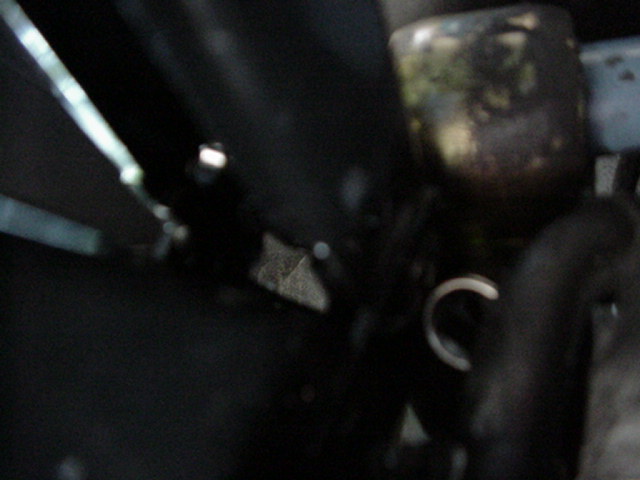
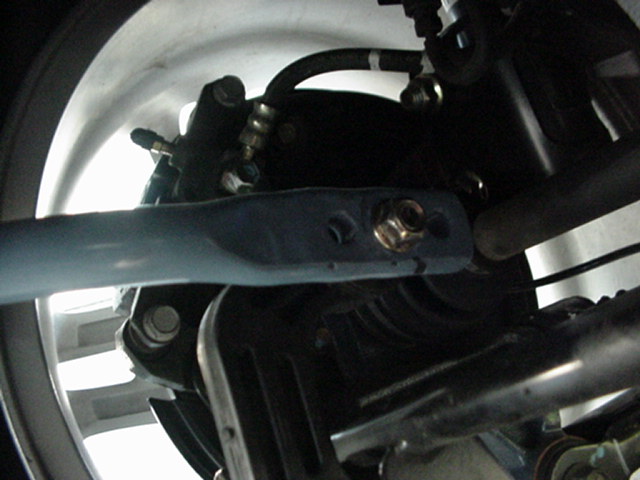
With the brackets removed, it is time to remove the bolt holding the swaybar to the endlinks. This is a 14mm bolt and nut. It may be helpful to soak these bolts in WD-40 or something similar to help loosen them. This is the driver's dide bolt location...
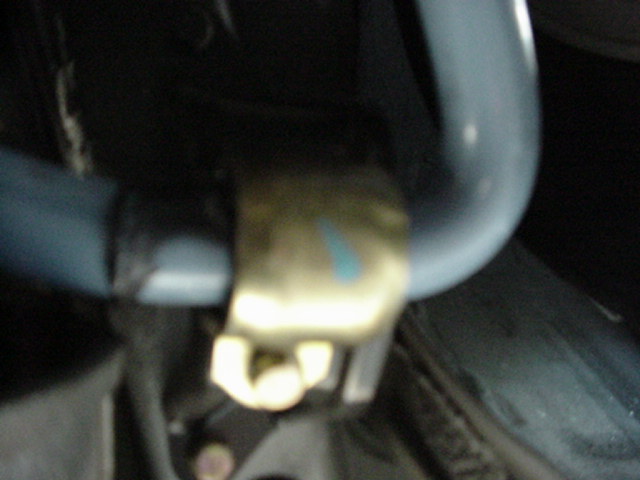
...and this is the passenger side bolt location. Remove them bolt completely.
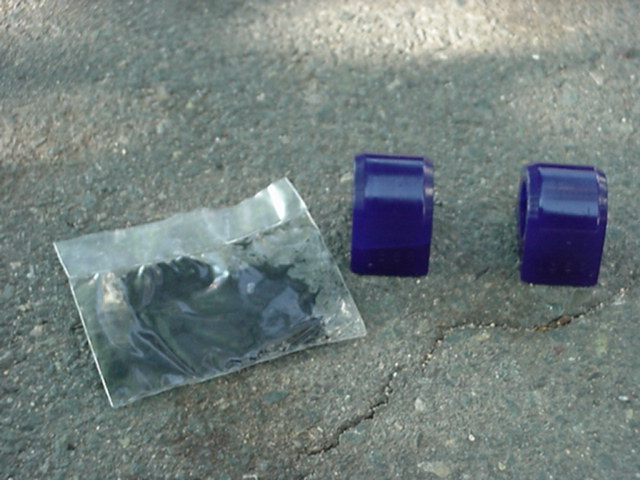
With your swaybar, you should get a new set of bushings and a small packet of graphite grease. This grease is intended to keep the bushings from squeaking and allows the swaybar to turn freely in the bushings.
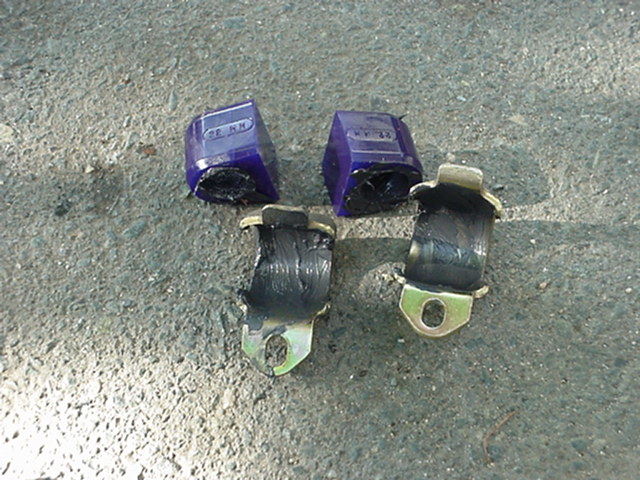
Thoroughly grease the inside of the bushings and the inside of the U shaped clamps that you removed from the car, and then it's time to snake the bar onto the car.
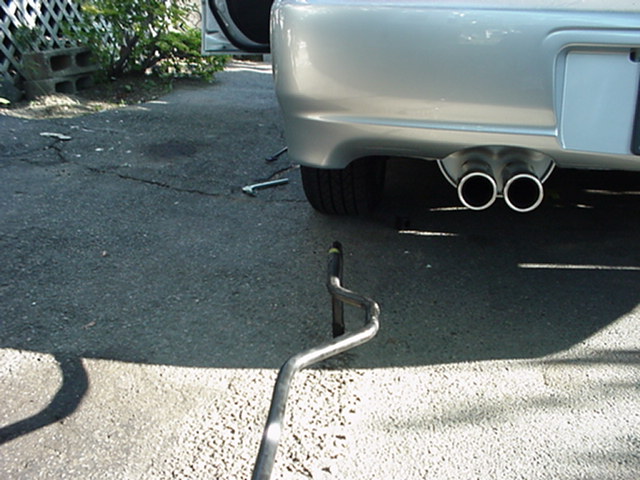
Start by hooking the bar over your exhaust, with the end pointing towards the driver side of the car. (The following pictures were taken behind the car instead of underneath the car for clarity... do not be confused and think you have to remove it).
Rotate the end point down towards the ground...

...and continue through until it is pointing towards the passenger side of the car.

Now, swing the right end of the bar around and it should nearly be in place.
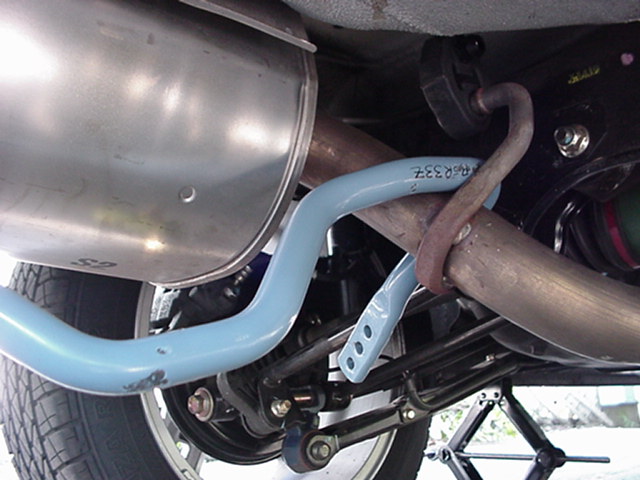
Of special note: the swaybar should end up before exhaust hanger if you are looking from the rear of the car, not behind it.
With the bar snaked in, place the 14mm bolts and nut through the endlinks and bolt them down loosely, one on the driver side...
...and one on the passenger side. If you have an adjustable swaybar, as this one is, the end hole is the low setting, the middle hole the medium setting, and the hole furthest in from the end is the high setting.
This picture was hard to take, and is still fairly confusing, but it is a trick to getting the U shaped clamps back in. Basically, you want to use a jack or jackstand to press up on the bar right near where the bracket mounts- this helps take some of the load off of the bar making it easier to bolt in the bracket.
This is the driver side U clamp- get this bracket well started, but do not bottom out the bolts completely. If you bottom out the bolts, you may have a difficult time getting the other bracket on.
This is the passenger side clamp- get this one started about halfway, then go back and tighten the driver side all the way. Return to this bracket and tighten it down fully as well.
With the brackets solidly mounted, finish tightening down the 14mm nuts/bolts on the driver side and the passenger side, where the swaybar connects to the endlinks.
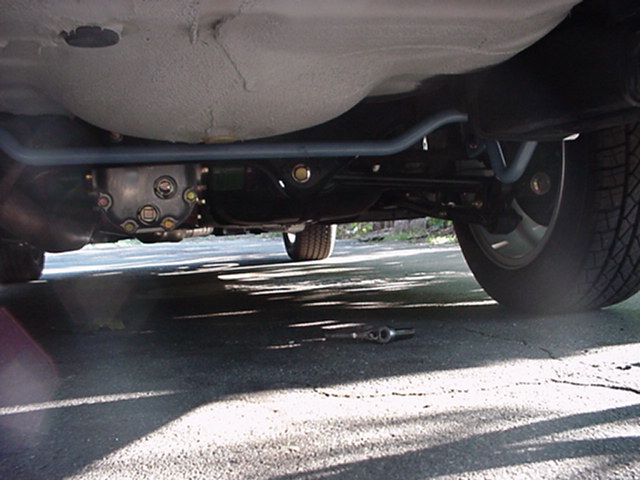
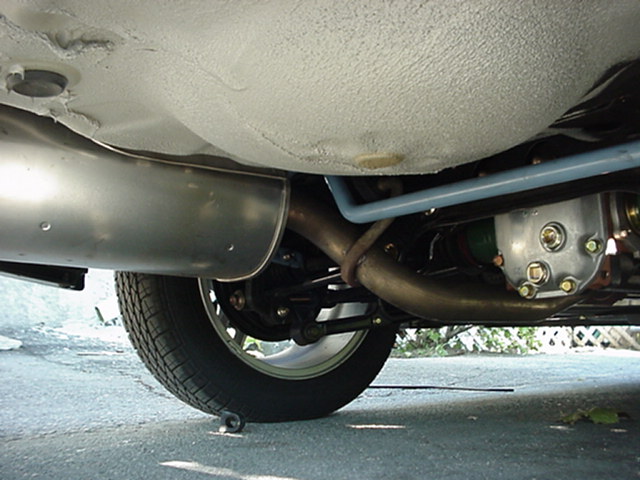
And there it is- finished!
Standard Disclaimer: Modification of your car involves risks and may void your warranty. I can not be held responsible for the modifications you consciously decide to undertake nor for the results of doing so.
|
|
