This is a modification you probably have not and will not see anywhere else, as I had to jump through some special hoops to get these. I live in the Northeast, and every winter, we have to live with static shocks for about 5 months. This gets tiresome, and Subaru of Japan realized this at some point. They came up with part number M0017FC100 (don't bother, it doesn't work in the USA parts system) to address this issue. They retail for about $25 US at the time of this modification, though the dollar fluctuates daily. They are fairly easy to install (much easier than obtaining them in the first place) and work very well. Please feel free to email and ask any questions. Comments are always welcome.

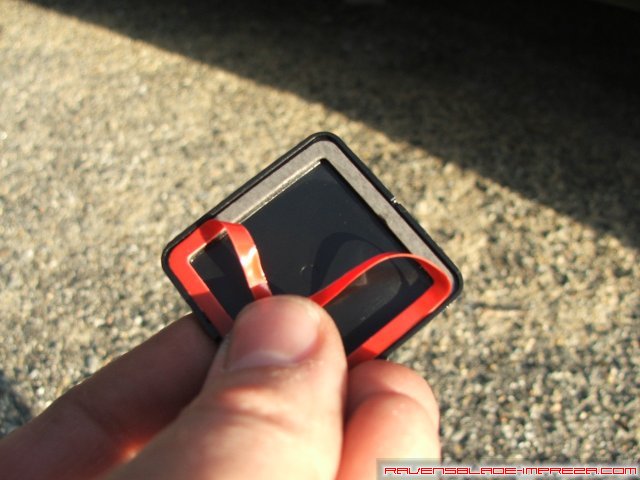
This is the kit as it comes. Each kit is enough to do one door, and it will work on Imprezas, Legacys, and Foresters.
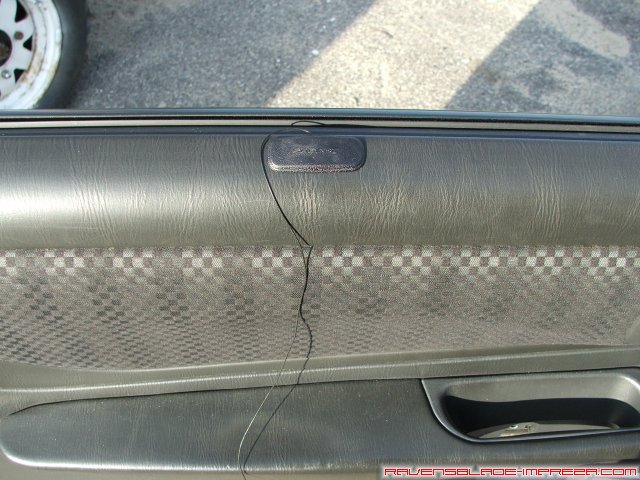
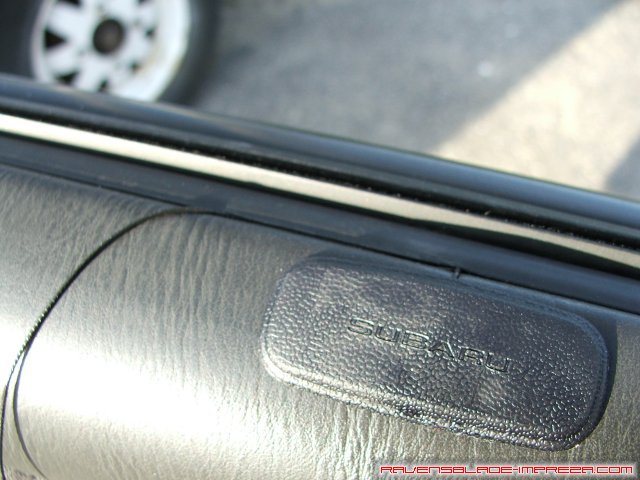
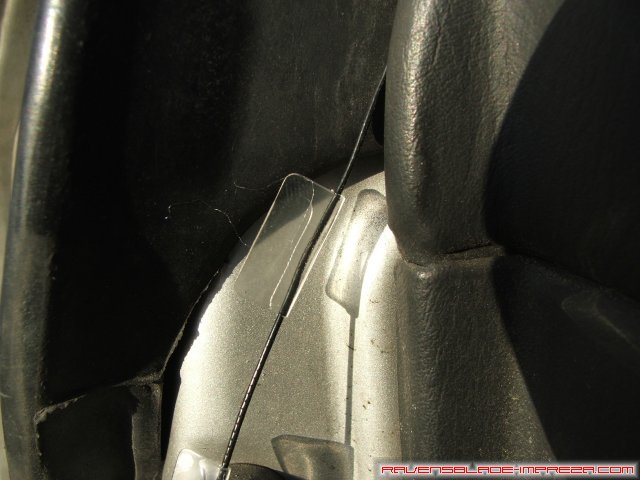
Step one is to find someplace to stick the pad. I chose the midpoint of my door, up by the window. Wherever you choose, you should clean the spot with rubbing alcohol to remove any oils or residues, then peel the tape off of the back and stick it down firmly.
Next, start running the cord between the door panel and it's trim strip. I used a pocketknife's fingernail cleaning tip to push it in here. Make sure you don't knick the coating on the cord.
Run the cord along this trim strip, all the way to the edge of the door.
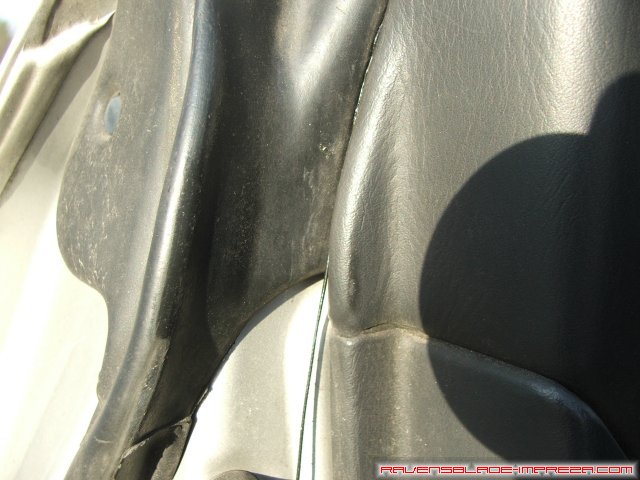
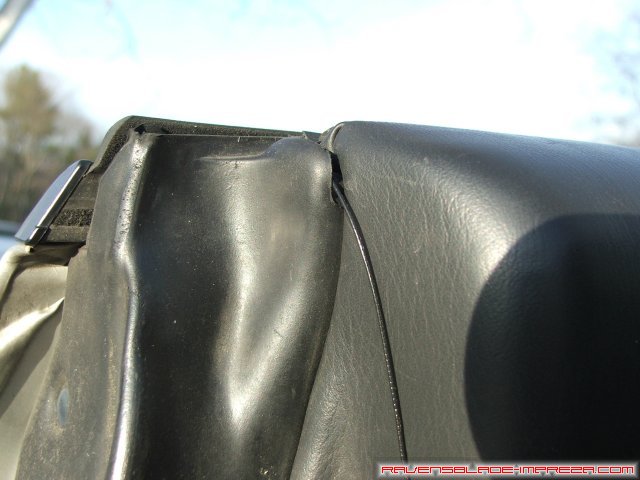
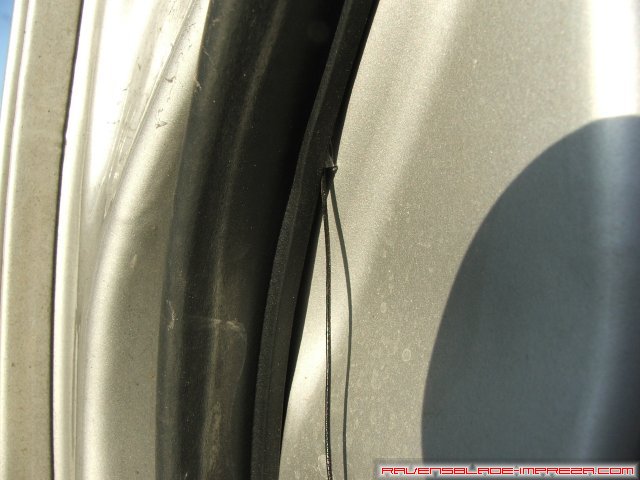
Continue running the cord between the door panel and the weatherstrip, pushing it in gently all along the way.
Now that you have reached the weatherstrip, the cord will not stay happily on it's own. Small squares are provided to wrap around the cord to help hold it in place behind the weatherstrip.
Fold a square over the cord every few inches, and work down towards the door striker area.
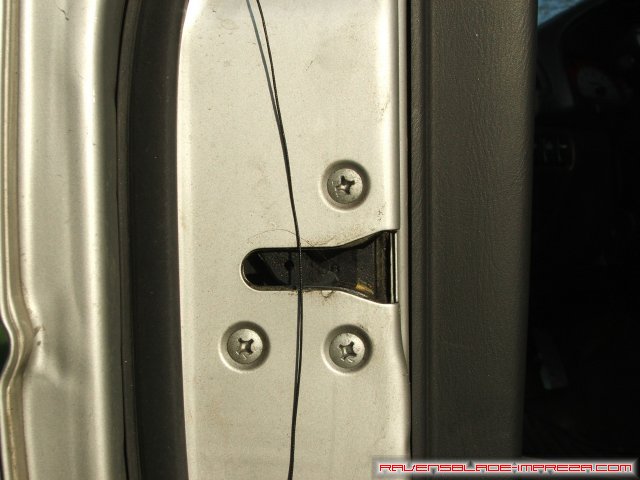
Near the striker, there are three screws. The terminal end of this kit sits over the topmost one on most cars. Some Foresters may need to use one of the lower screws due to clearance issues. The instructions that come with the kit will give you an idea if this is the case.
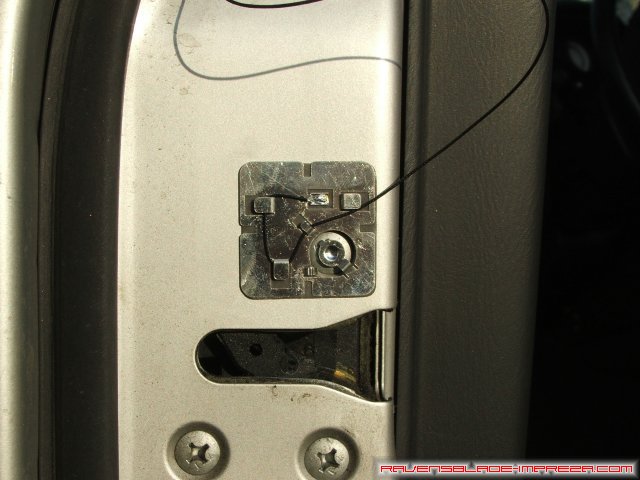
Now, clean the area around the bolt you will use thoroughly with alcohol, to remove any greases/residues. Let dry. Remove the covering over the doublesided tape on the back of the terminal, and stick it over the screw like this. That circular area must go directly over the screw as shown.

Wrap up any excess cord as shown, and tape down the remaining cord with the provided squares, to keep things neat. The cord should be wound up to face directly left (as shown) or directly right.
Remove the cover over the doublesided tape on the back of the cover. Make note of the orientation of the notches in the cover, as the cord must run through one of these for proper fitment.
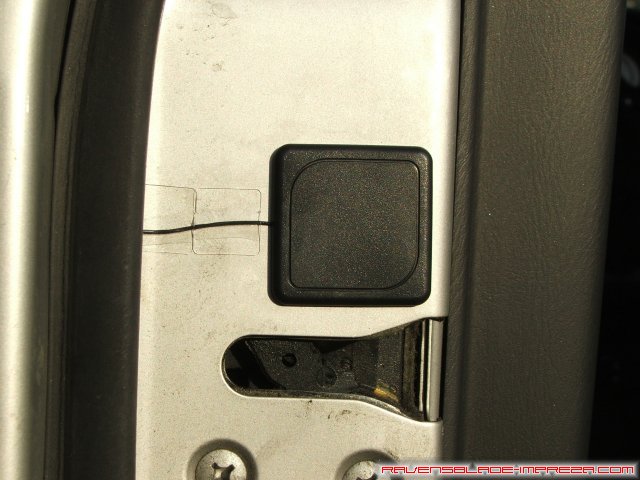
The cover installed over the terminal.
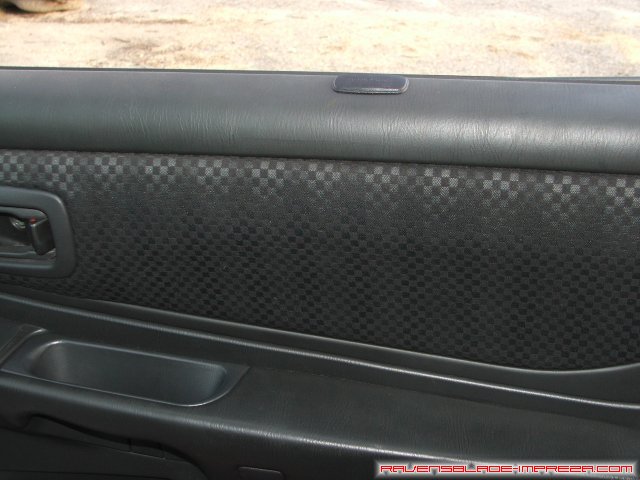
The touchpad after installation.
Standard Disclaimer: Modification of your car involves risks and may void your warranty. I can not be held responsible for the modifications you consciously decide to undertake nor for the results of doing so.
|
|
